Running OpenClaw Using Docker Desktop: Your Personal AI Assistant in a Container
OpenClaw is powerful - it can read files, run commands, and automate tasks. That's exactly why you want it containerized. Learn how to run OpenClaw safely with Docker Desktop, configure AI providers, connect messaging channels & manage your self-hosted AI assistant with confidence.

Your own personal AI assistant, running entirely on your machine, talking to you through WhatsApp, Telegram, Slack, or Discord. Does it sound like science fiction?
Meet OpenClaw, the open-source, self-hosted AI agent framework that's taking the developer world by storm. And the best part? You can get it up and running in minutes using Docker Desktop.
In this guide, I'll walk you through everything you need to know about running OpenClaw with Docker Desktop - from understanding what OpenClaw is, to setting it up, configuring messaging channels, managing it day-to-day, and troubleshooting common issues.
I see a lot of developers running OpenClaw directly on their MacBook.
I get it - it's fast, it just works, and it feels contained.
OpenClaw has 52+ modules, 8 config management files, 45+ dependencies, and abstractions for 15 channel providers.
But here's what you're actually giving an AI agent when you do that:
→ Your SSH keys
→ Your AWS credentials
→ Your .env files
→ Your entire home directory
Security is application-level (allowlists, pairing codes) rather than OS isolation. Everything runs in one Node process with shared memory.One hallucinated command. One prompt injection from a site the agent browses. That's all it takes.
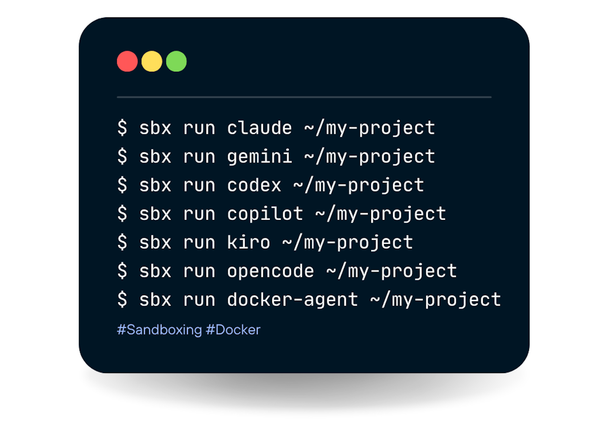
The fix is simpler than you think - Docker Sandboxes with MicroVM isolation. The entire agent runs in a separate VM. Your host machine never knows it's there.
Even Docker's own Oleg Šelajev demonstrated this pattern with NanoClaw, a lightweight Claude-powered WhatsApp assistant - running it entirely inside a Docker shell sandbox rather than on the host:https://lnkd.in/gV4r8qzs
NanoClaw gives you the same core functionality in a codebase you can understand in 8 minutes.
One process.
A handful of files.
The credential proxy is what makes it elegant: your Anthropic API key never enters the sandbox.
The VM intercepts outgoing calls and swaps a sentinel value for the real key. Nothing to steal even if something goes wrong.
Setup takes 5 extra minutes:
$ docker sandbox create --name nanoclaw shell ~/nanoclaw-workspace
$ docker sandbox run nanoclaw
That's your blast radius. Not your MacBook.
What is OpenClaw?
OpenClaw (formerly known as MoltBot/Clawdbot) is a free, open-source personal AI assistant framework created by Peter Steinberger. It's designed to run on your own devices and answer you on the channels you already use — WhatsApp, Telegram, Slack, Discord, Signal, iMessage, Microsoft Teams, and more.
Think of it as your always-on AI teammate that can:
- Read files, run commands, and automate tasks across your workspace
- Maintain persistent memory across conversations
- Connect to 50+ integrations including GitHub, Gmail, Spotify, Obsidian, and more
- Run scheduled jobs via cron for proactive automation
- Support multiple AI providers — Anthropic Claude, OpenAI GPT, Google Gemini, Groq, Mistral, and others
- Execute browser automation via CDP-controlled Chrome/Chromium
- Render a live Canvas for agent-driven visual workspaces
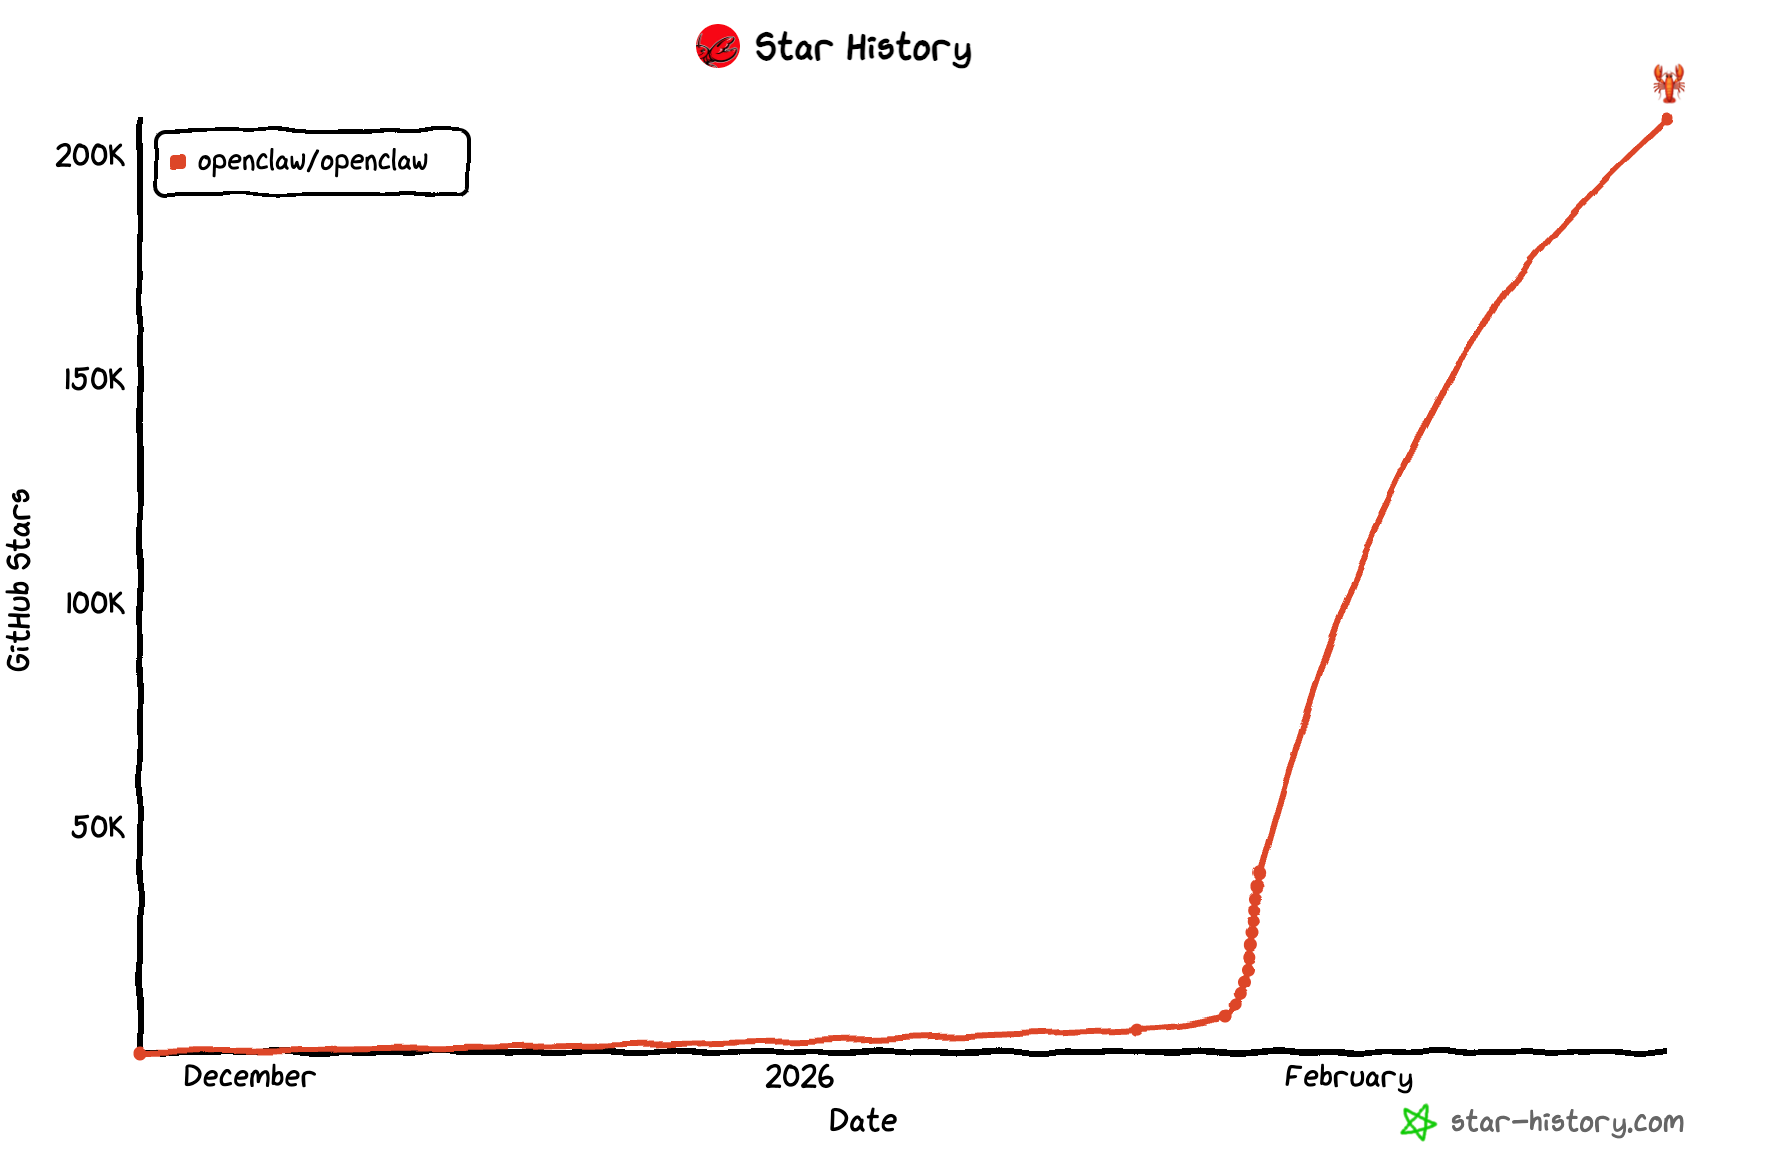
The project has exploded in popularity with over 37,000 stars on GitHub, and its community is growing rapidly.
Why Docker?
Running OpenClaw in Docker gives you several advantages:
- Isolation — OpenClaw can read files, run commands, and automate tasks. Docker keeps all of this contained in a sandboxed environment, preventing accidental changes to your host system.
- Reproducibility — The exact same environment every time, regardless of your host OS.
- Easy cleanup — Don't like it?
docker compose downand it's gone. - No dependency conflicts — No need to install Node.js, npm, or any other tools on your host machine.
- Security — The default Docker image runs as a non-root
nodeuser, minimizing the attack surface.
Prerequisites
Before we begin, make sure you have:
- Docker Desktop installed and running (macOS, Windows, or Linux)
- Download from docker.com/products/docker-desktop
- Git installed on your system
- Bash v4+ (macOS ships with an older version — upgrade via
brew install bashif needed) - At least 2 GB RAM (4 GB recommended)
- 10 GB+ disk space for Docker images and application data
- An API key from at least one AI provider (Anthropic, OpenAI, Google, etc.)
Verify Docker Installation
Open your terminal and run:
$ docker --version
Docker version 29.2.0, build 0b9d198

$ docker compose version
docker compose version
If both commands return version numbers, you're good to go.
Step 1: Clone the OpenClaw Repository
Start by cloning the official OpenClaw repository:
git clone https://github.com/openclaw/openclaw.git
cd openclaw
This downloads the entire OpenClaw codebase, including the Dockerfile, docker-compose.yml, and the docker-setup.sh script.
Step 2: Run the Docker Setup Script
OpenClaw provides an all-in-one setup script that handles everything:
chmod +x docker-setup.sh
./docker-setup.sh
What This Script Does
Behind the scenes, docker-setup.sh performs these steps:
- Builds the gateway image locally from the included Dockerfile
- Runs the onboarding wizard interactively inside a Docker container
- Generates a gateway token for accessing the Control UI
- Creates configuration directories on your host
- Starts the gateway via Docker Compose
- Writes the token to
.envfor future reference
Note: Unlike many Docker applications where you pull a pre-built image, OpenClaw builds the image locally on your server. This means you're always running the exact version from the repository.
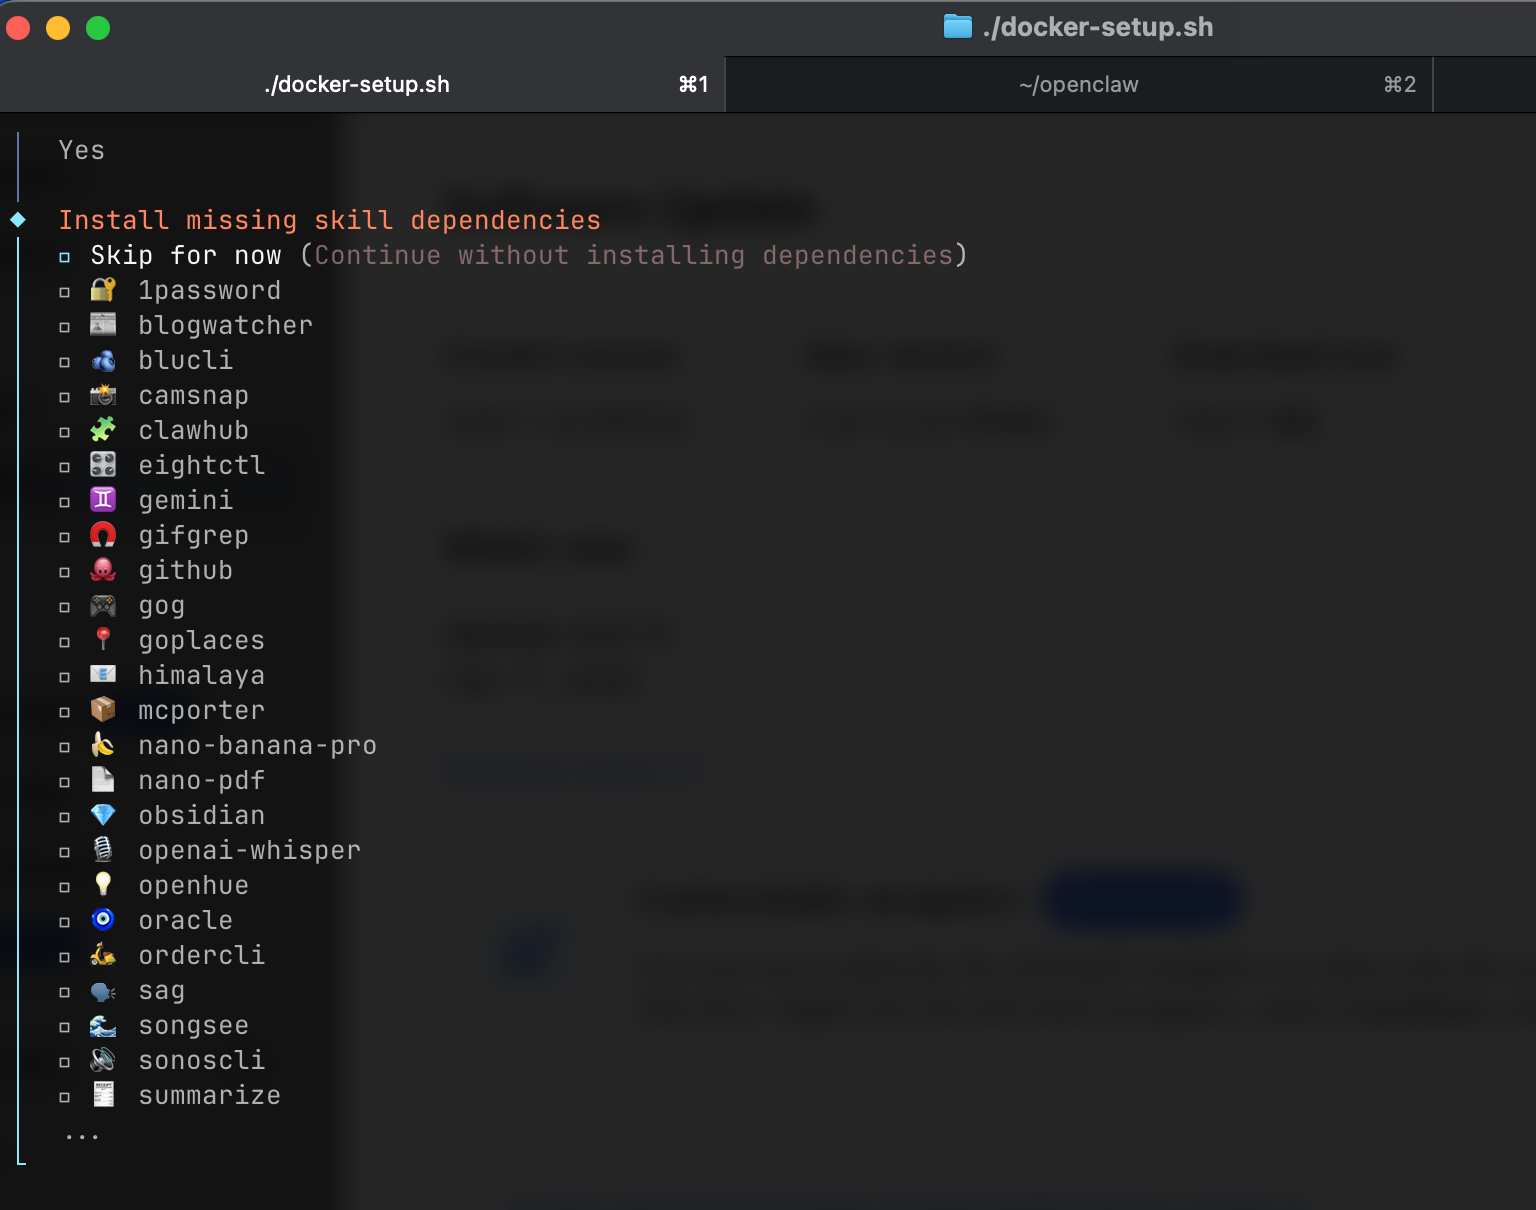
The Onboarding Wizard
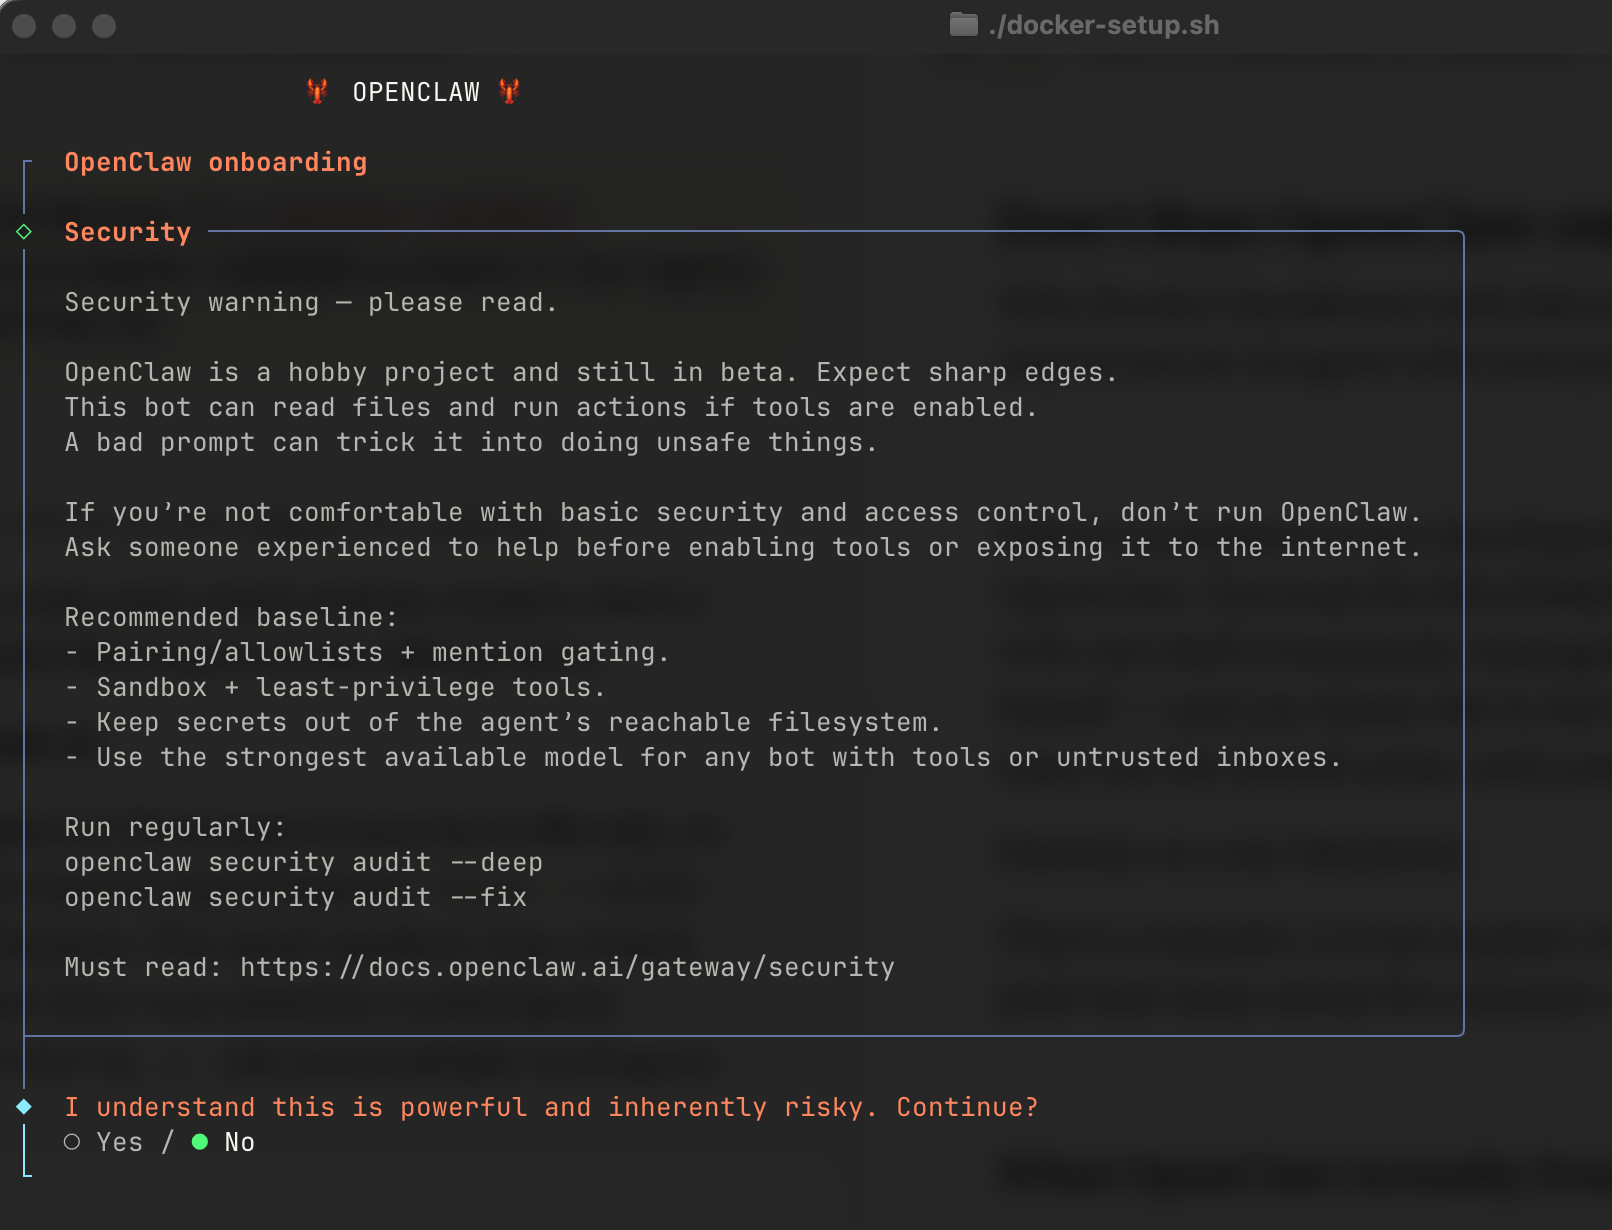
During the setup, you'll be guided through an interactive wizard. Here's what to expect:
==> Onboarding (interactive)
When prompted:
  - Gateway bind: lan
  - Gateway auth: token
  - Gateway token: <auto-generated>
  - Tailscale exposure: Off
  - Install Gateway daemon: No
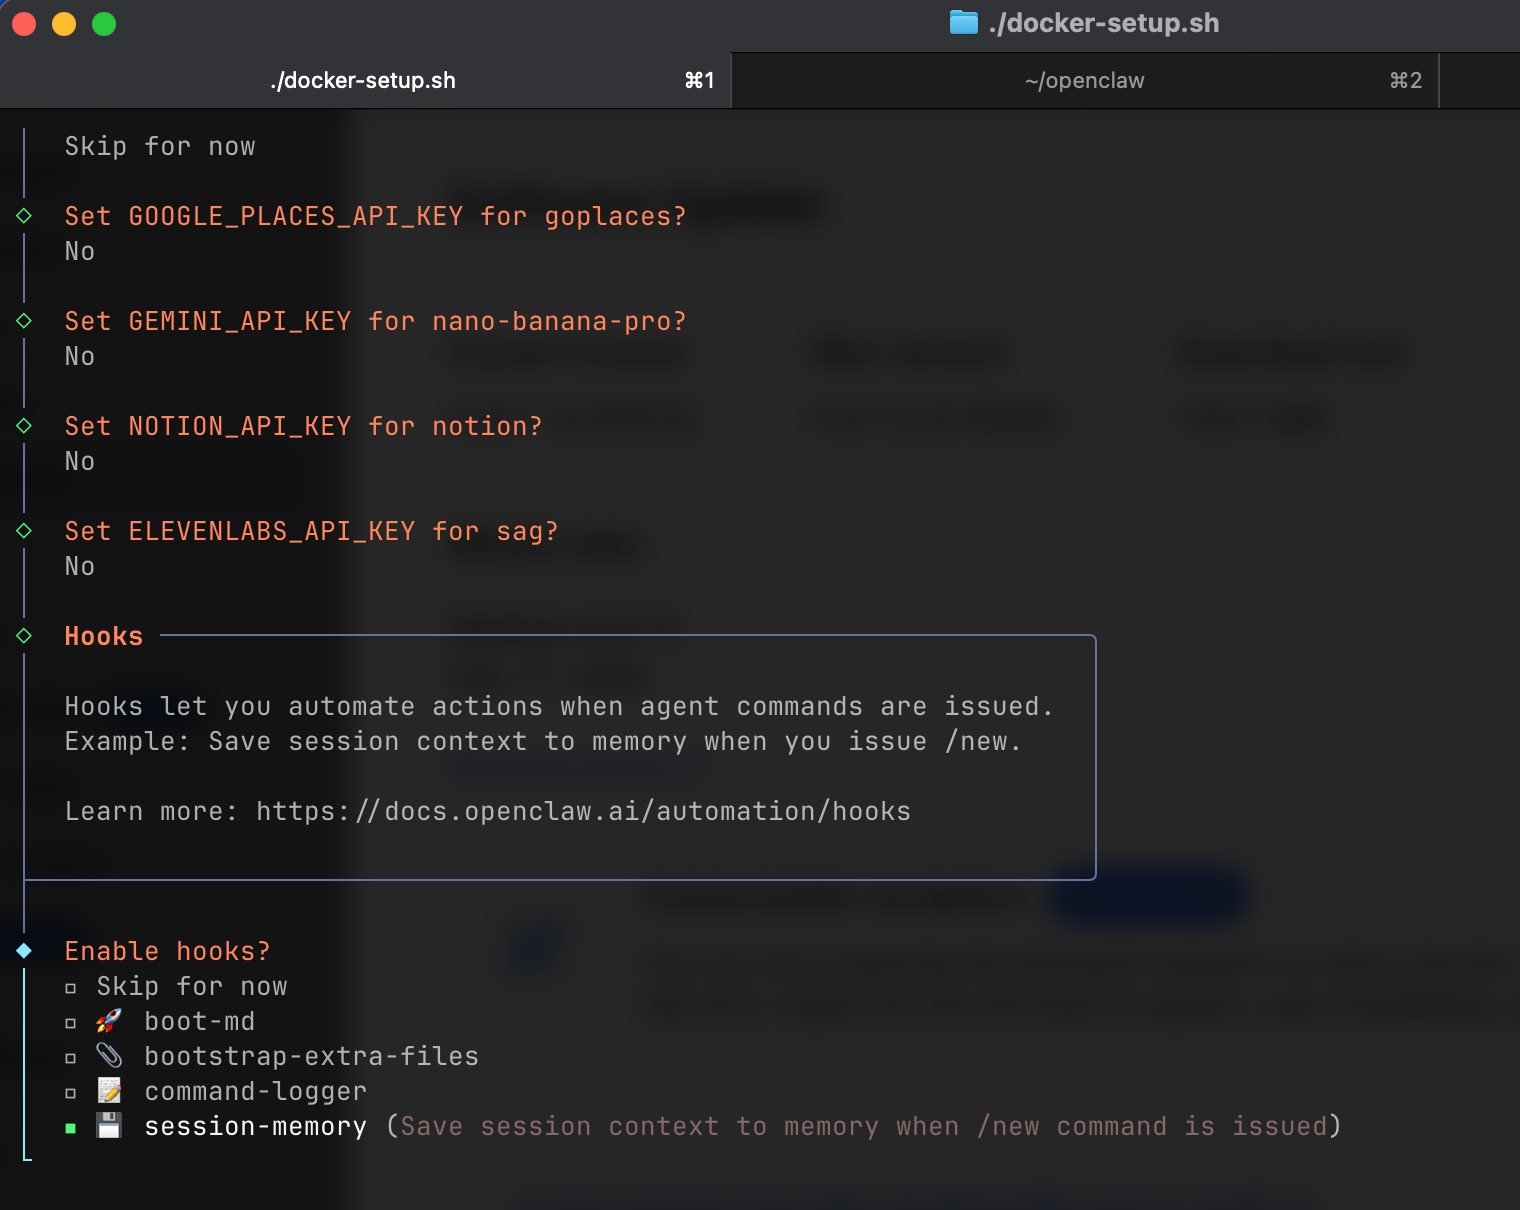
The wizard will ask you to:
- Choose your AI provider — Enter your API key for Anthropic, OpenAI, Google Gemini, or another supported provider
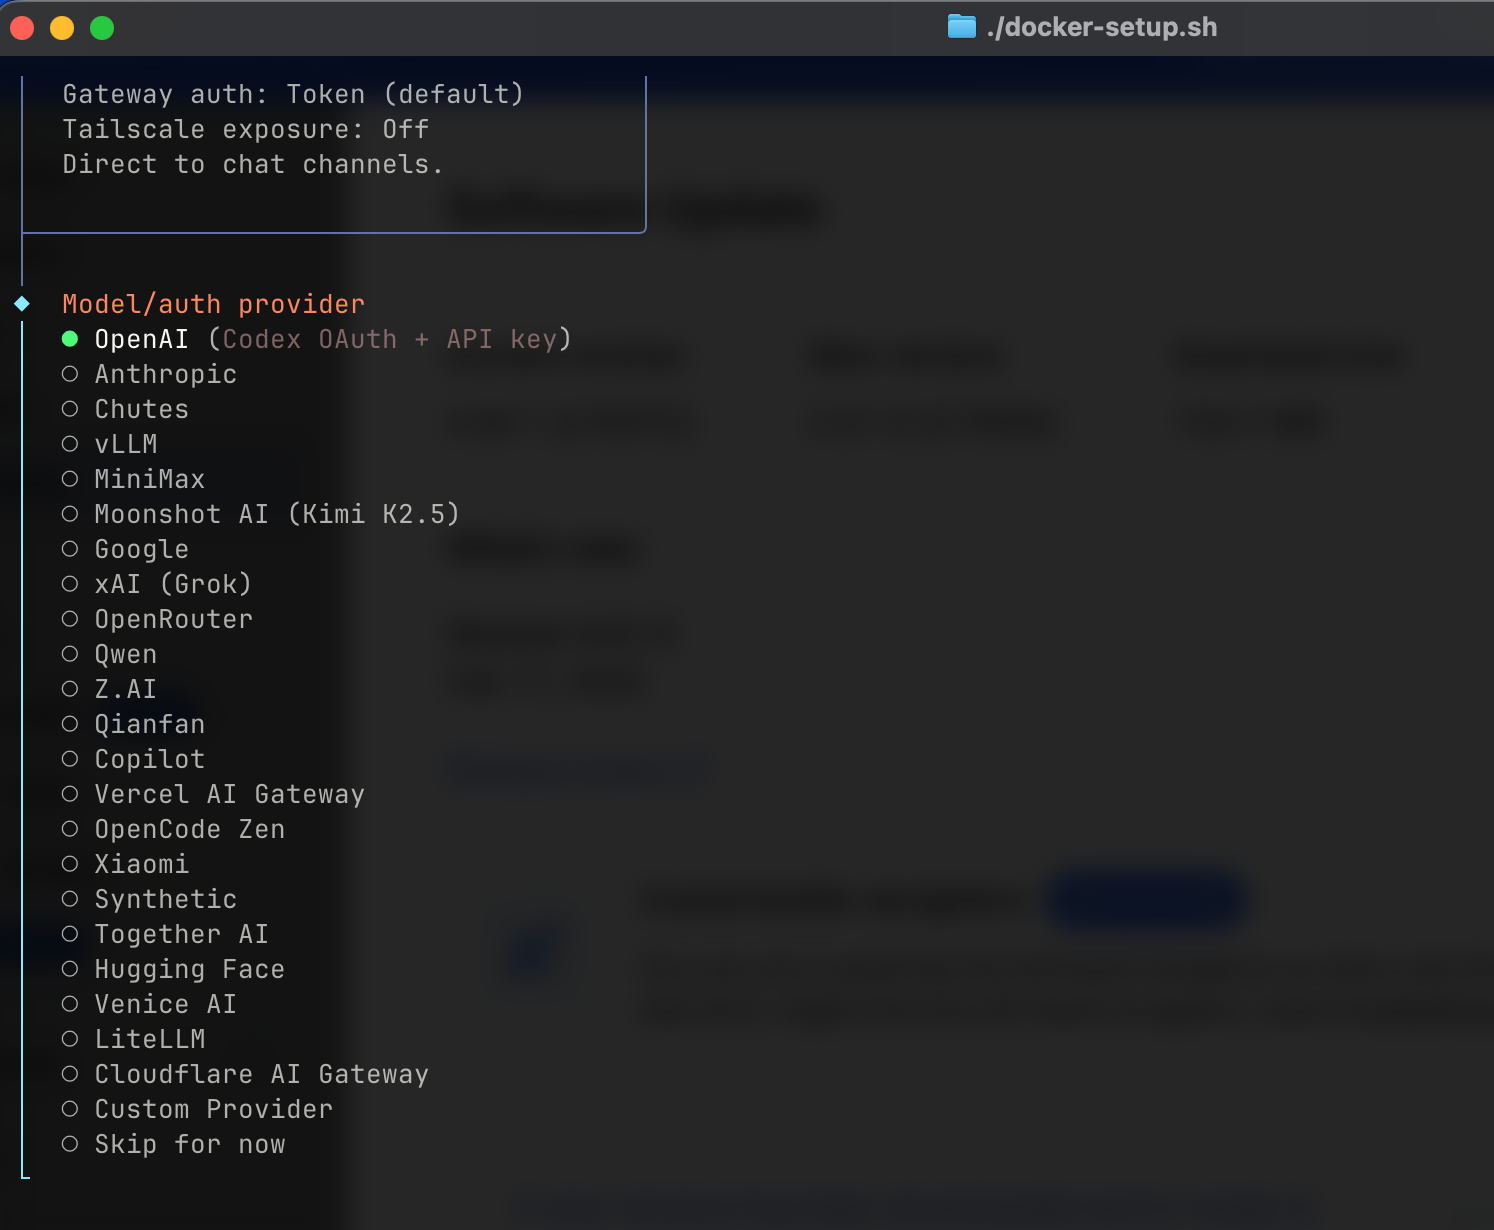
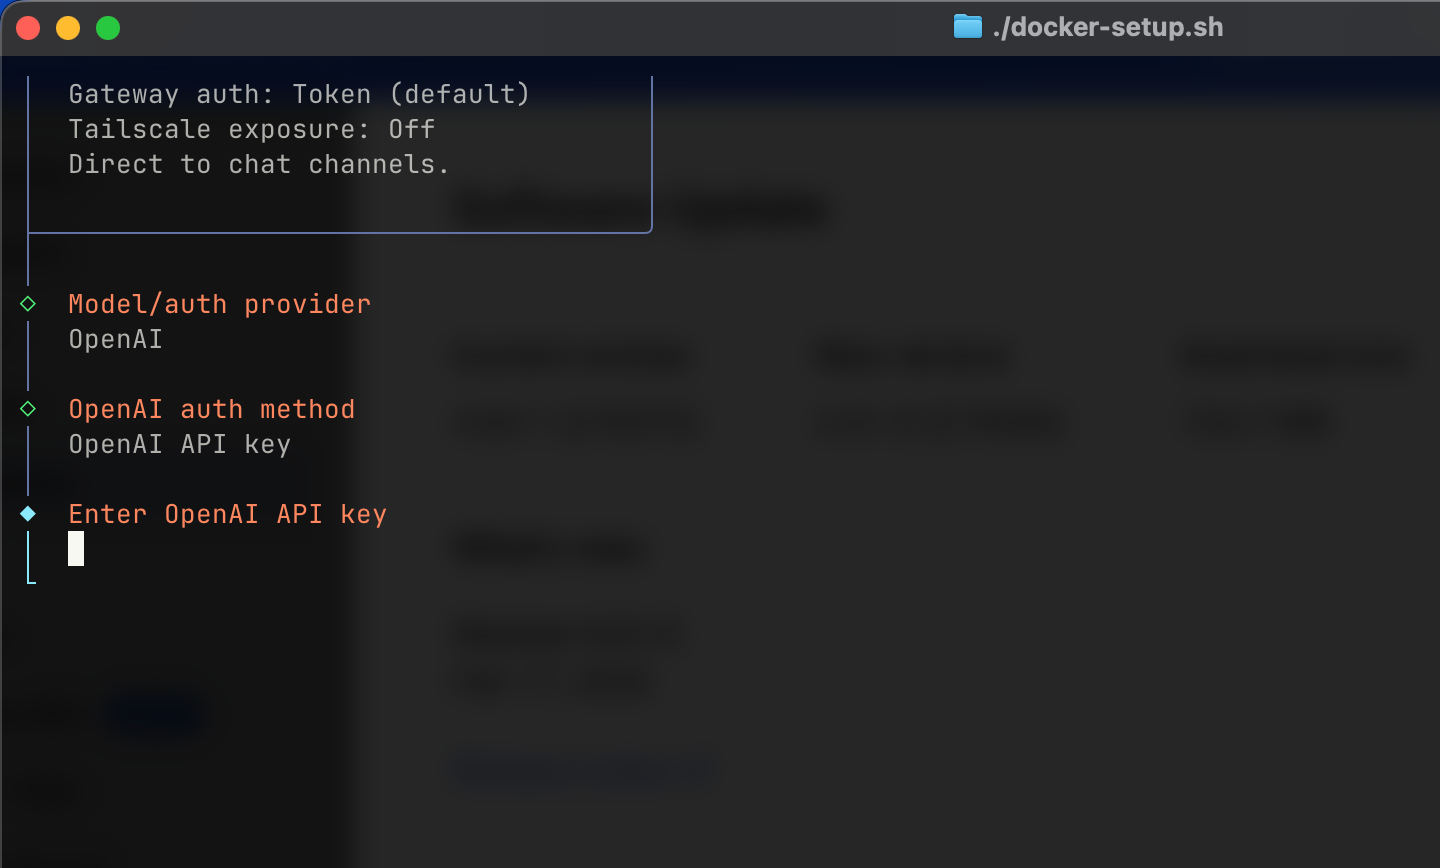
- Set gateway binding — Choose
lanfor local network access - Configure authentication — Token-based auth is recommended
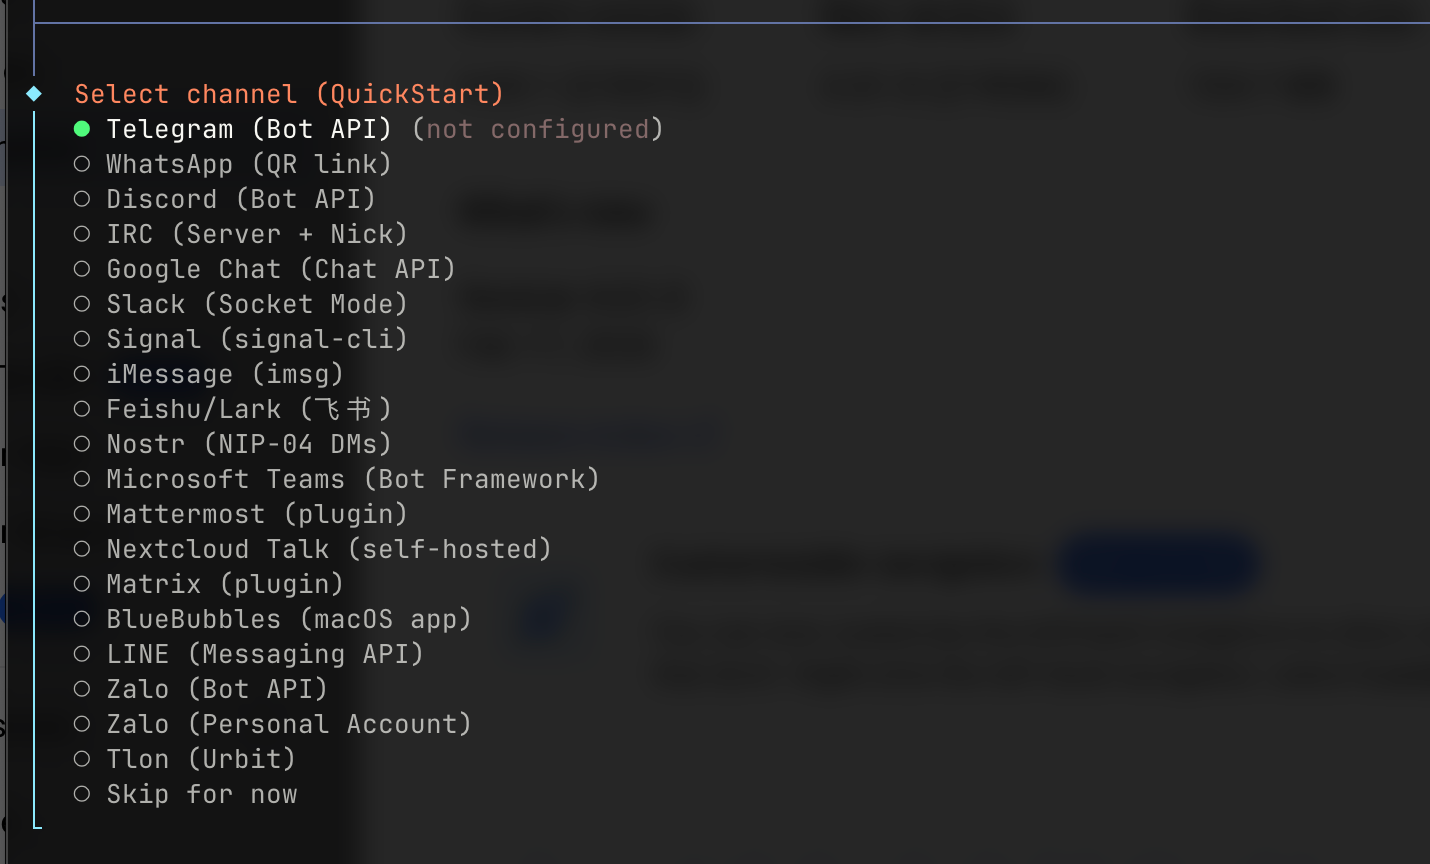
- Set up messaging channels
Create a Telegram account if you don’t have one (phone number required). Search and select @BotFather in Telegram. This is the official bot for creating and managing Telegram bots. Next, you'll need to create your bot. Send /newbot to BotFather, then choose your bot’s display name. Also, choose your bot’s username (must be unique) and then save the bot token - you’ll need it later!
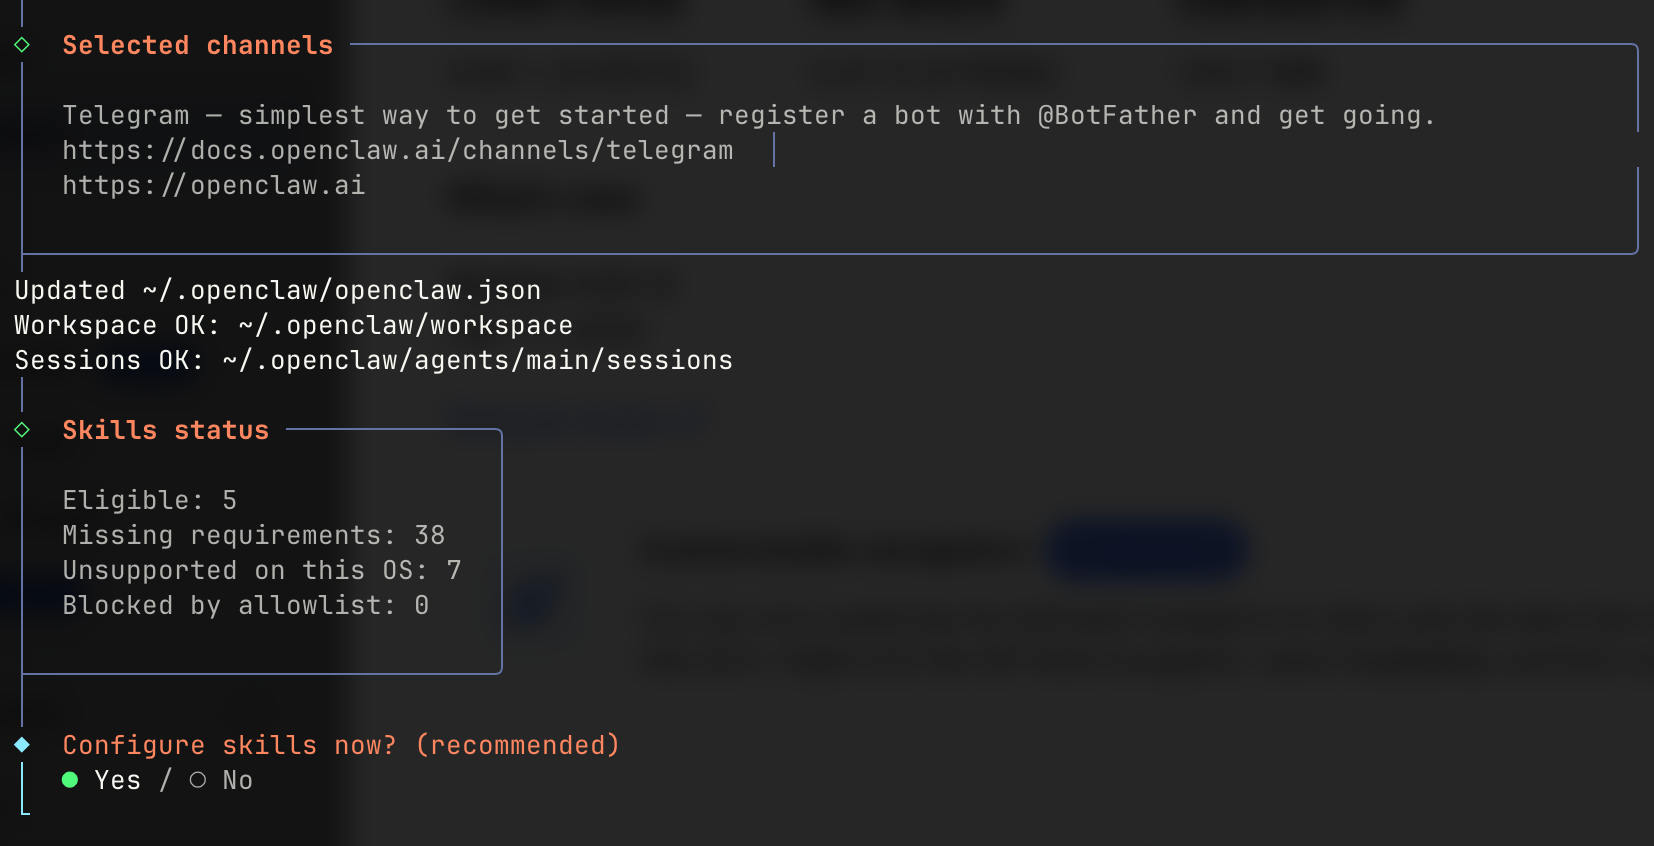
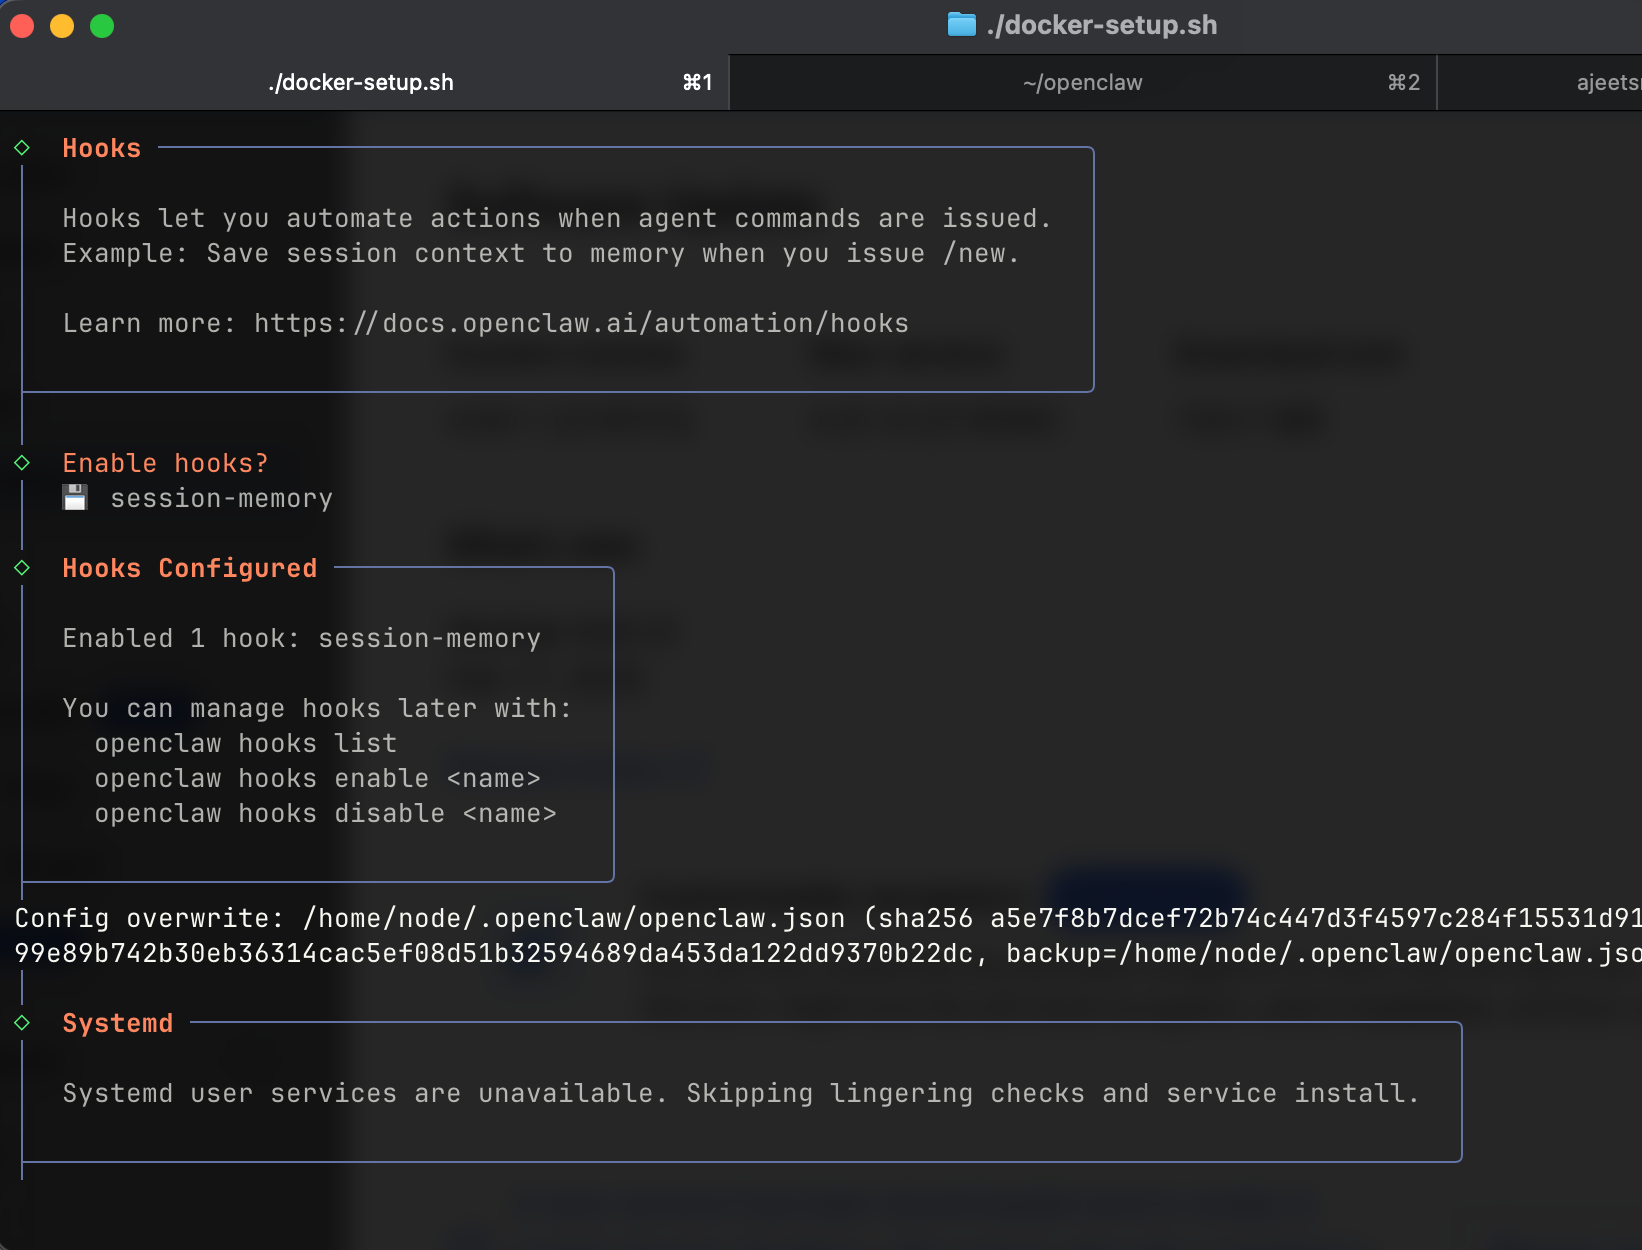
It will show the result:

Configuration Directories
After setup, OpenClaw creates two important directories on your host:
| Directory | Purpose |
|---|---|
~/.openclaw/ |
Configuration, memory, API keys, and state |
~/.openclaw/workspace/ |
Files directly available to the agent — files the agent creates are saved here too |
These directories are mounted as volumes inside the Docker container, so your data persists across container restarts.
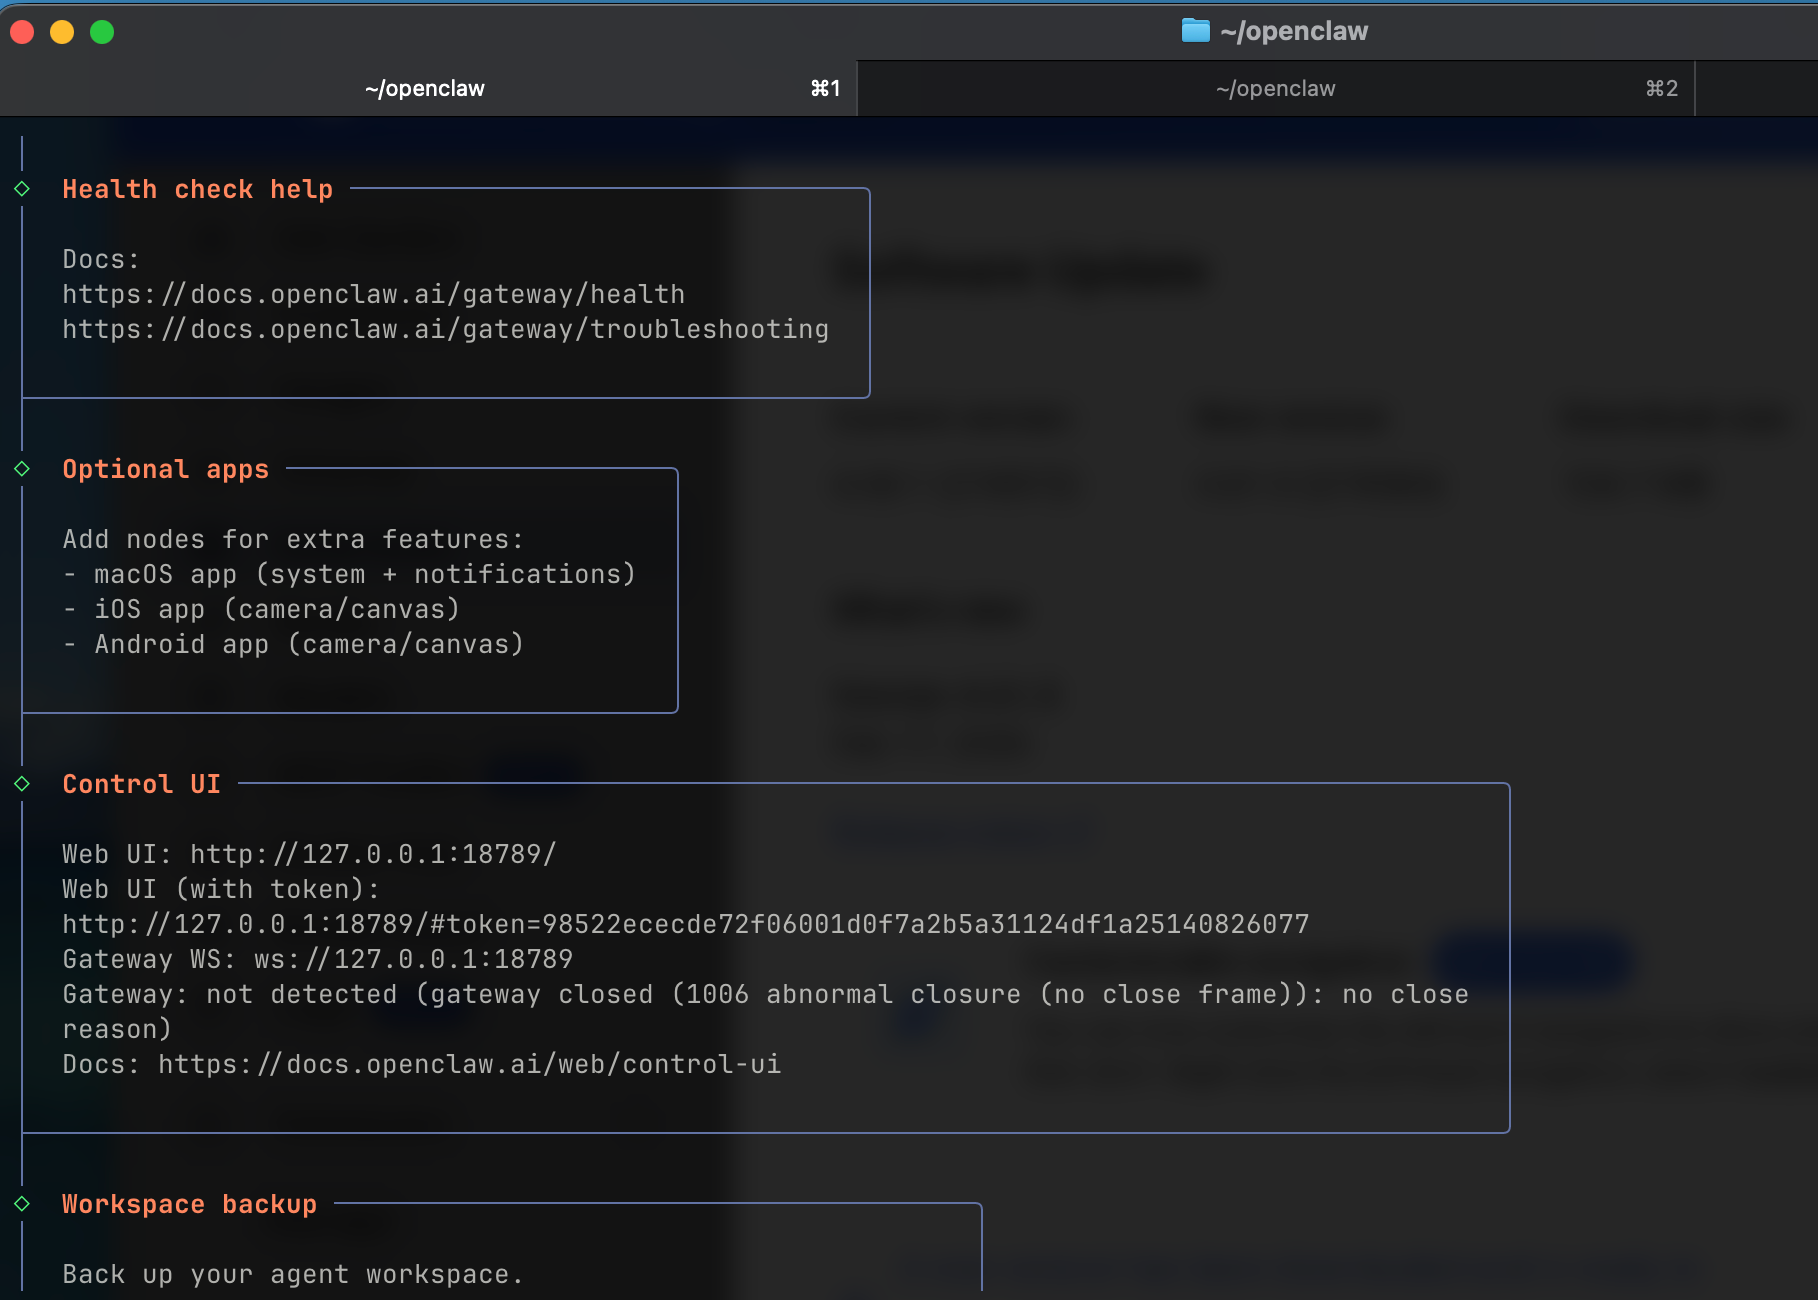
Step 3: Access the Control UI
Once the gateway is running, open your browser and navigate to:
http://127.0.0.1:18789/
You'll need the gateway token to authenticate. If you missed it during setup, retrieve it with:
docker compose run --rm openclaw-cli dashboard --no-open
This will output a URL with the token parameter — something like:
http://127.0.0.1:18789/?token=your-secret-token-here
If you see "unauthorized" or "disconnected (1008): pairing required", follow these steps:
# Get a fresh dashboard link
docker compose run --rm openclaw-cli dashboard --no-open

# List pending device requests
docker compose run --rm openclaw-cli devices list

# Approve your browser device
docker compose run --rm openclaw-cli devices approve <requestId>
web_search tool. Without a Brave Search API key, web search won’t work.Set it up interactively:
- Run: openclaw configure --section web
- Enable web_search and paste your Brave Search API key
Alternative: set BRAVE_API_KEY in the Gateway environment (no config changes).
Docs: https://docs.openclaw.ai/tools/web
Step 4: Connect a Messaging Channel
OpenClaw truly shines when you connect it to a messaging platform. Let's set up Telegram as an example — it's the quickest to configure.
Setting Up Telegram
1. Create a Telegram Bot
Open Telegram and chat with @BotFather:
/newbot
Follow the prompts to name your bot. BotFather will give you a bot token — save it.
2. Add the Channel to OpenClaw
docker compose run --rm openclaw-cli channels add \
  --channel telegram \
  --token <YOUR_BOT_TOKEN>
3. Pair Your Account
Send any message to your new bot on Telegram. OpenClaw will respond with a pairing code. Approve it:
docker compose run --rm openclaw-cli pairing approve telegram <CODE>
That's it! You can now message your AI assistant directly from Telegram on your phone.
Other Channel Options
# WhatsApp (QR code based)
docker compose run --rm openclaw-cli channels login

# Discord
docker compose run --rm openclaw-cli channels add \
  --channel discord \
  --token <DISCORD_BOT_TOKEN>

# Slack
docker compose run --rm openclaw-cli channels add \
  --channel slack \
  --token <SLACK_BOT_TOKEN>
Step 5: Verify Everything is Running
Check Container Status
docker compose ps
You should see output similar to:
NAME                          IMAGE            STATUS
openclaw-openclaw-gateway-1   openclaw:local   Up 2 minutes
Health Check
docker compose exec openclaw-gateway \
  node dist/index.js gateway health
View Logs
# Follow logs in real-time
docker compose logs -f openclaw-gateway

# Last 100 lines only
docker compose logs --tail 100 openclaw-gateway
Understanding the Architecture
Here's how OpenClaw runs inside Docker:
WhatsApp / Telegram / Slack / Discord / Signal / iMessage / Teams
                          │
                          ▼
              ┌───────────────────────┐
              │       Gateway         │
              │   (control plane)     │
              │  ws://127.0.0.1:18789 │
              └───────────┬───────────┘
                          │
                ├─ Pi agent (RPC)
                ├─ CLI (openclaw …)
                ├─ WebChat UI
                ├─ Canvas + A2UI
                └─ Browser (CDP)
The Gateway is the single control plane that manages sessions, channels, tools, and events. It communicates with your chosen AI provider (Claude, GPT, etc.) and routes messages between you and the agent through your preferred messaging channels.
Docker Compose Services
The docker-compose.yml defines two main services:
| Service | Description |
|---|---|
openclaw-gateway |
The main gateway service that runs the AI assistant |
openclaw-cli |
A utility container for running CLI management commands |
Configuring AI Providers
OpenClaw is model-agnostic. You can configure multiple providers and switch between them. Here are the supported providers:
| Provider | Models | Env Variable |
|---|---|---|
| Anthropic | Claude Opus 4.5, Sonnet 4.5, Haiku 4.5 | ANTHROPIC_API_KEY |
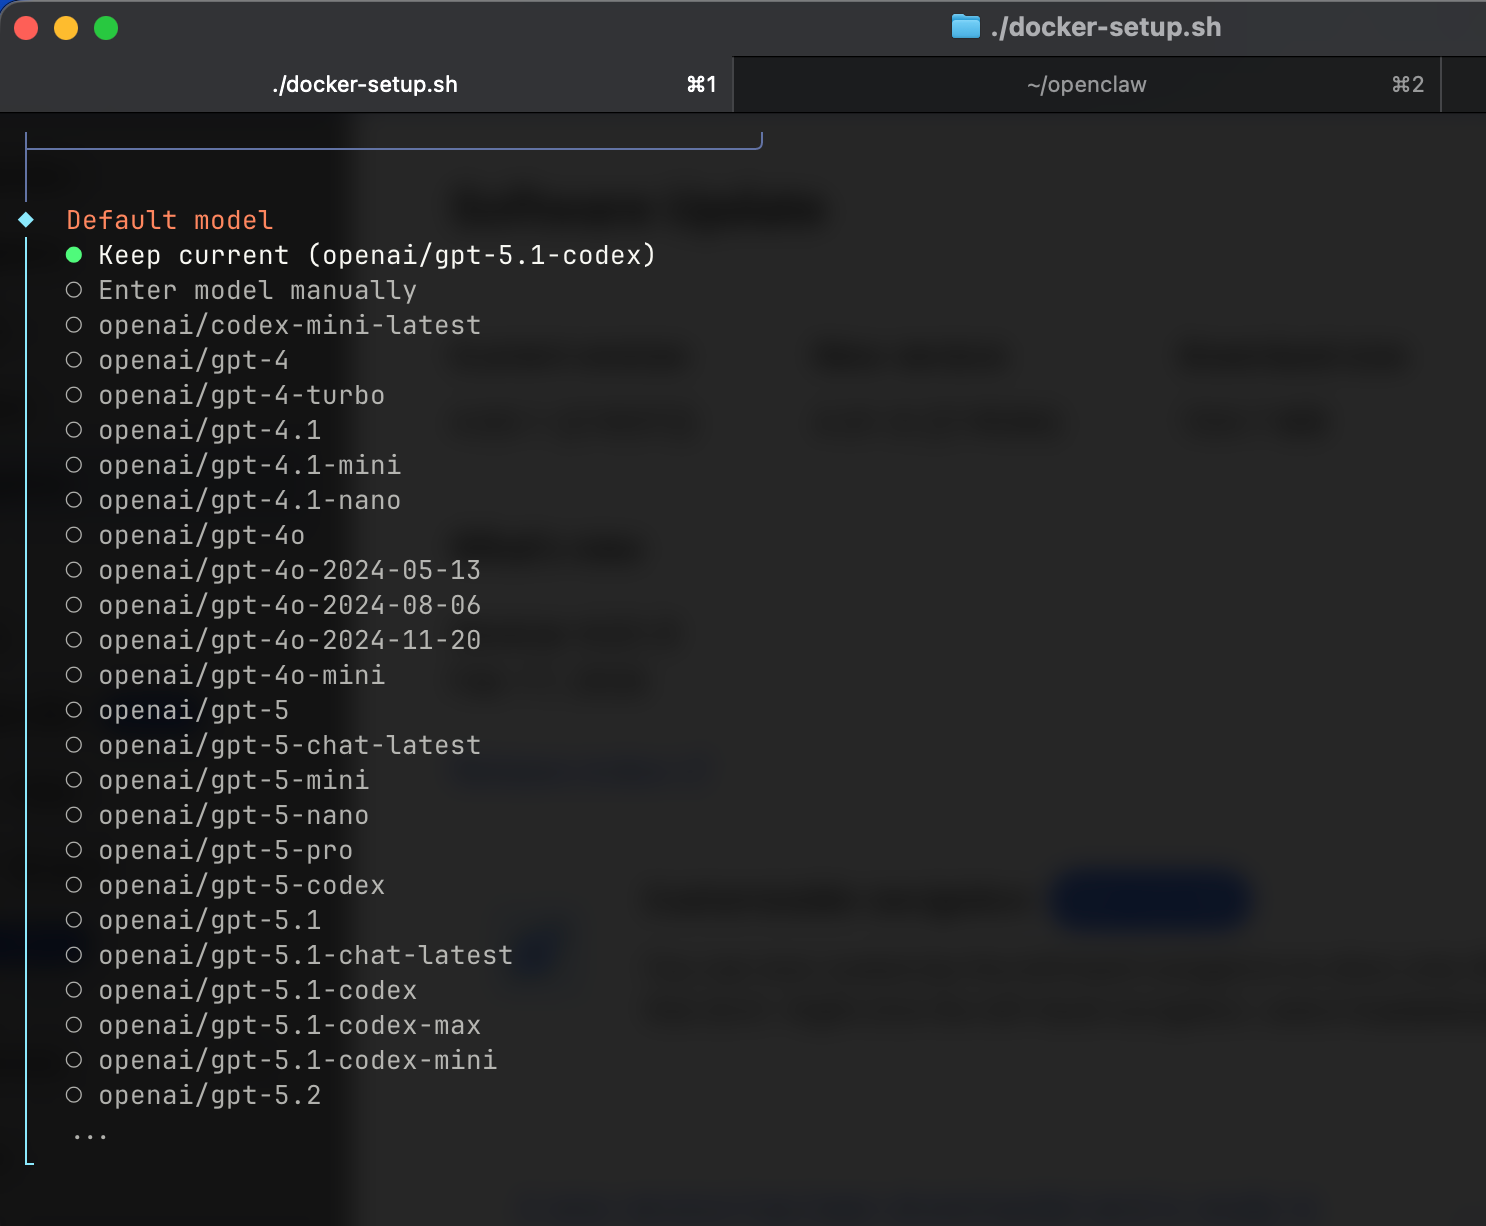
| OpenAI | GPT-5.2, GPT-5, GPT-4.5-preview | OPENAI_API_KEY |
| Gemini models | GOOGLE_API_KEY |
|
| Groq | Llama models (hardware-accelerated) | GROQ_API_KEY |
| Mistral | Mistral Large and others | MISTRAL_API_KEY |
| OpenRouter | Multi-provider routing | OPENROUTER_API_KEY |
| xAI | Grok models | XAI_API_KEY |
You can provide API keys during the onboarding wizard, or set them as environment variables in your Docker Compose configuration.
Security Best Practices
OpenClaw is powerful — it can read files, execute commands, and automate tasks. Here are important security considerations:
1. Docker Provides Isolation
Running in Docker means the agent cannot access your host filesystem outside of the mounted volumes. This is a significant safety advantage over running directly on your machine.
2. Default Network Is "None"
By default, OpenClaw's Docker configuration uses network: none, meaning no egress traffic. You must explicitly enable networking if the agent needs internet access.
3. Non-Root Execution
The default image runs as the node user (UID 1000), not root. This limits what the agent can do even inside the container.
4. Run the Doctor Command
OpenClaw includes a built-in security audit:
docker compose exec openclaw-gateway \
  node dist/index.js doctor
This surfaces risky or misconfigured DM policies.
5. Per-Agent Sandboxing
For multi-agent setups, you can configure per-agent sandbox profiles with isolated workspaces and per-agent sessions:
# Enable sandboxing
docker compose exec openclaw-gateway \
  node dist/index.js config set sandbox.enabled true
Docker Desktop Tips
Resource Allocation
For optimal OpenClaw performance in Docker Desktop:
- Memory: Allocate at least 4 GB (Settings → Resources → Memory)
- CPUs: 2+ cores recommended
- Disk: Ensure at least 10 GB available for images
File Sharing
If you're mounting host directories, verify they're shared:
- macOS/Windows: Docker Desktop → Settings → Resources → File Sharing
- Add any paths you're using in
OPENCLAW_EXTRA_MOUNTS
Using Docker Desktop Dashboard
Docker Desktop provides a visual interface to manage your OpenClaw containers:
- Open Docker Desktop
- Click on Containers in the left sidebar
- You'll see
openclaw-openclaw-gateway-1running - Click on it to view logs, inspect environment variables, and monitor resource usage
- Use the Terminal tab to open a shell inside the container
What Can You Do With OpenClaw?
Once your assistant is running, the possibilities are vast. Here are some real-world examples:
- Personal knowledge management — "Summarize the research paper I uploaded and add it to my notes"
- Code review and development - "Review this PR and suggest improvements"
- Automated research - "Search for the latest developments in container security and compile a report"
- Task scheduling - "Every Monday at 9 AM, check my calendar and send me a summary on Telegram"
- Content pipelines - "Draft a blog post about Docker best practices based on our previous discussions"
- Financial tracking - "Parse my bank statement and categorize expenses"
The community has built hundreds of skills that extend OpenClaw's capabilities even further.
Wrapping Up
OpenClaw running on Docker Desktop gives you the best of both worlds: the power of a personal AI assistant with the safety and isolation of containerization. Whether you're a developer looking to automate workflows, a content creator wanting an AI collaborator, or just someone curious about running their own AI agent, Docker makes the experience smooth and secure.
The setup takes about 15–30 minutes, and once it's running, you've got an always-on AI assistant that lives on your machine, respects your privacy, and talks to you wherever you are.
Useful Links:
Give it a try and join the lobster revolution! 🦞