How to use Docker Hardened Images (DHI) in Kubernetes Deployments
Designed to reduce vulnerabilities and simplify compliance, DHIs integrate easily into your existing Docker-based workflows as well as Kubernetes deployments with little to no retooling required.


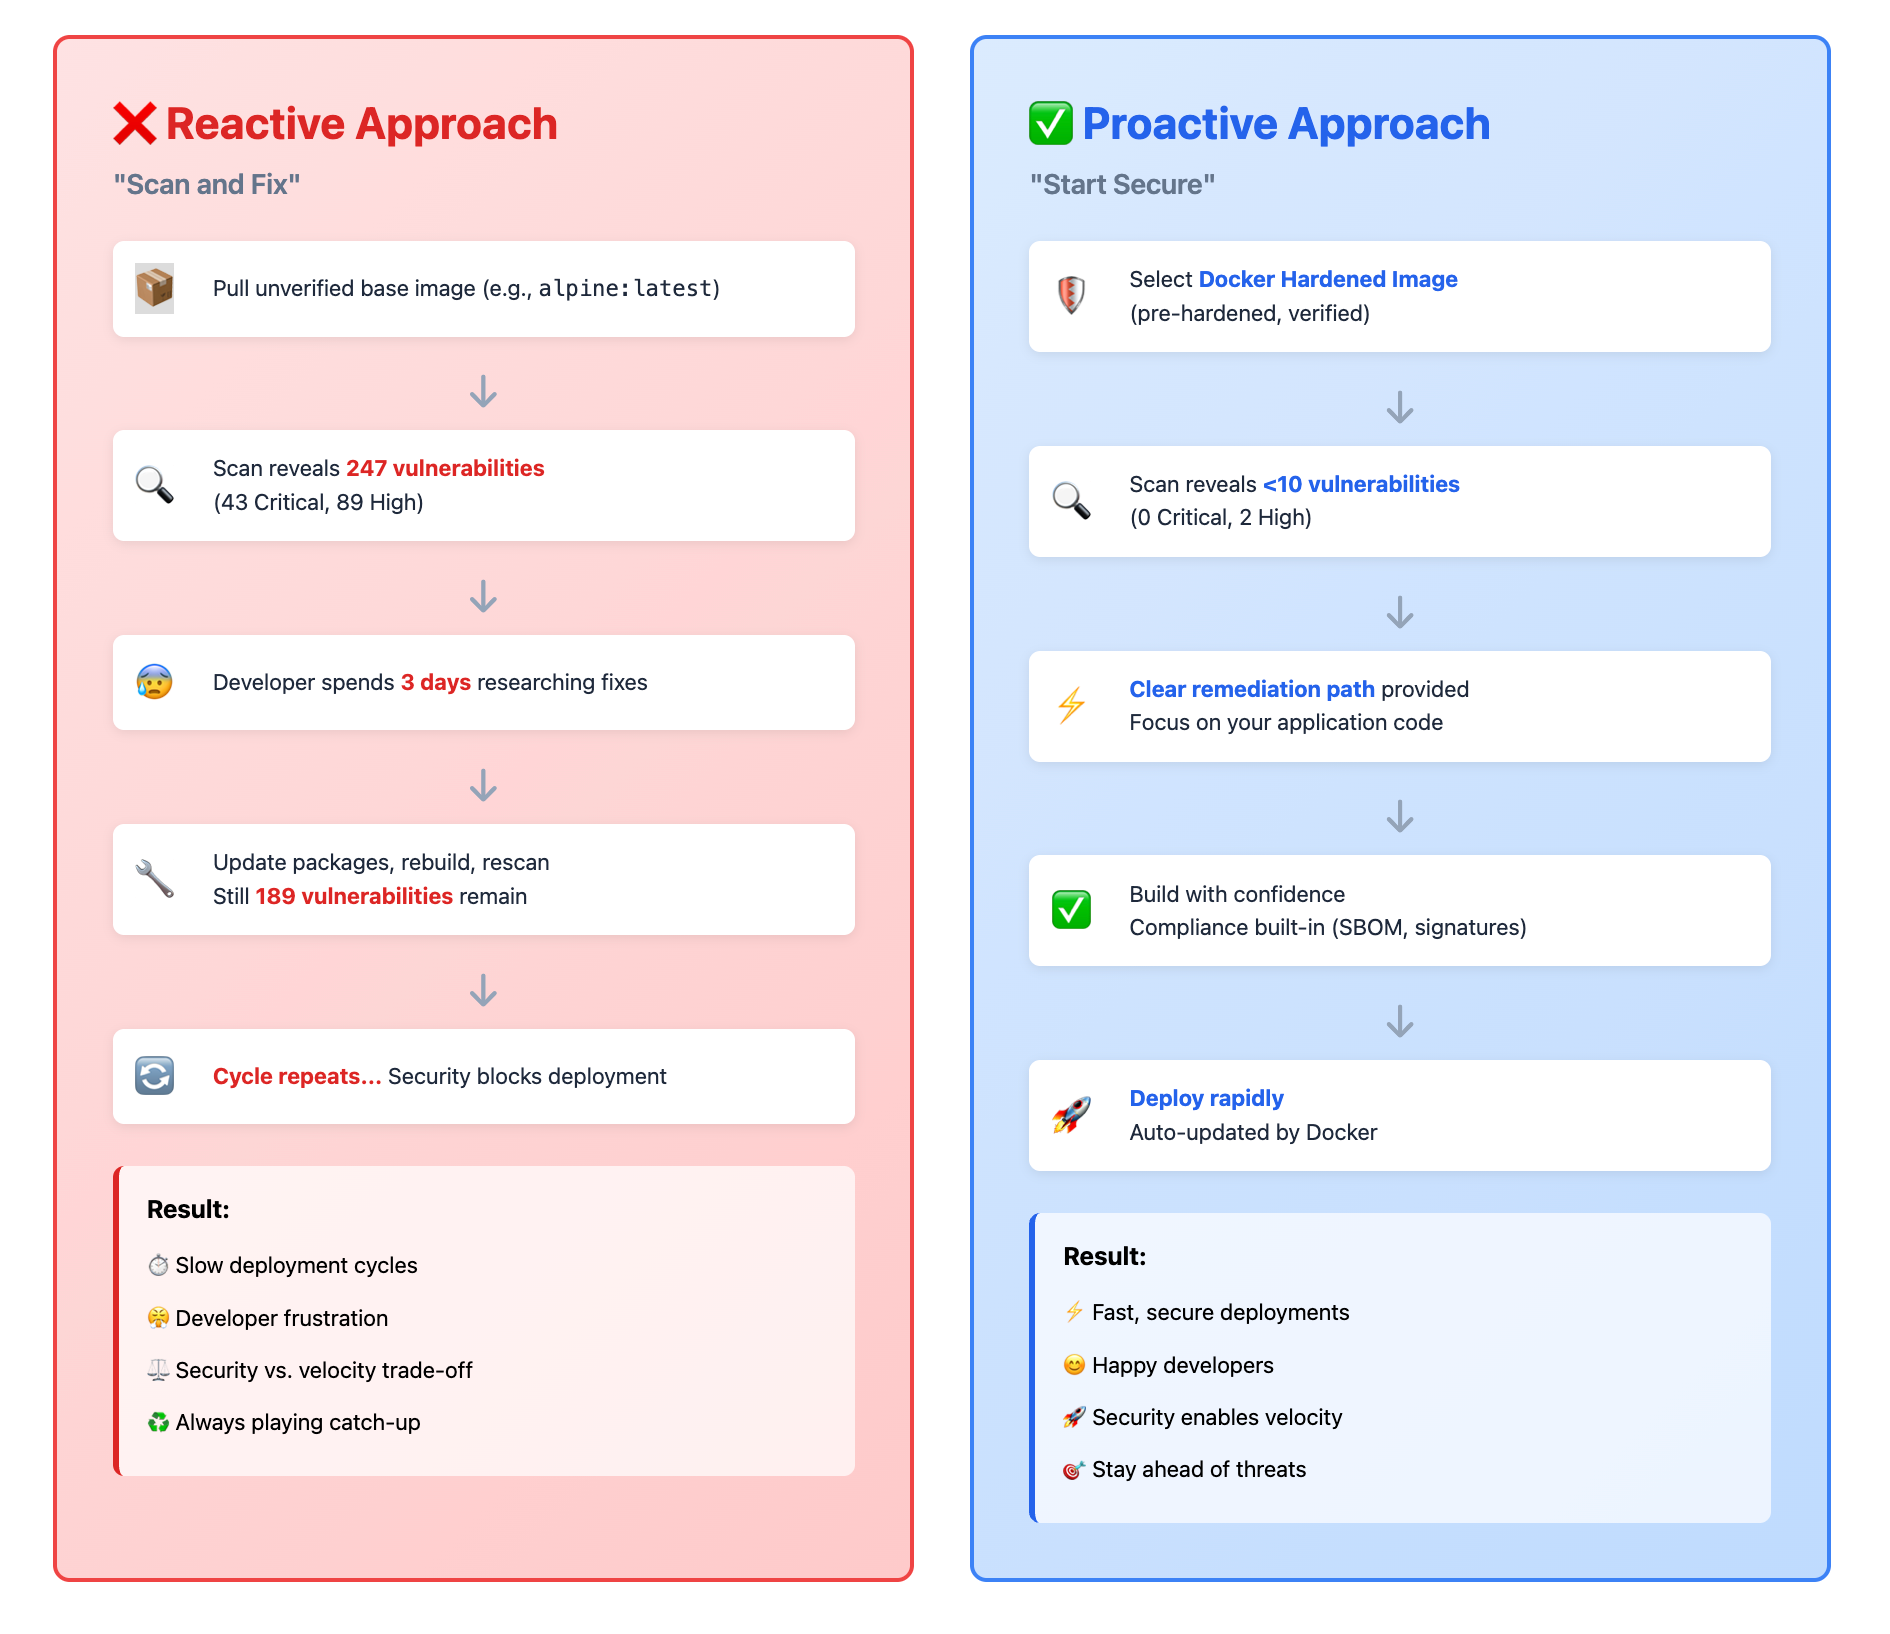
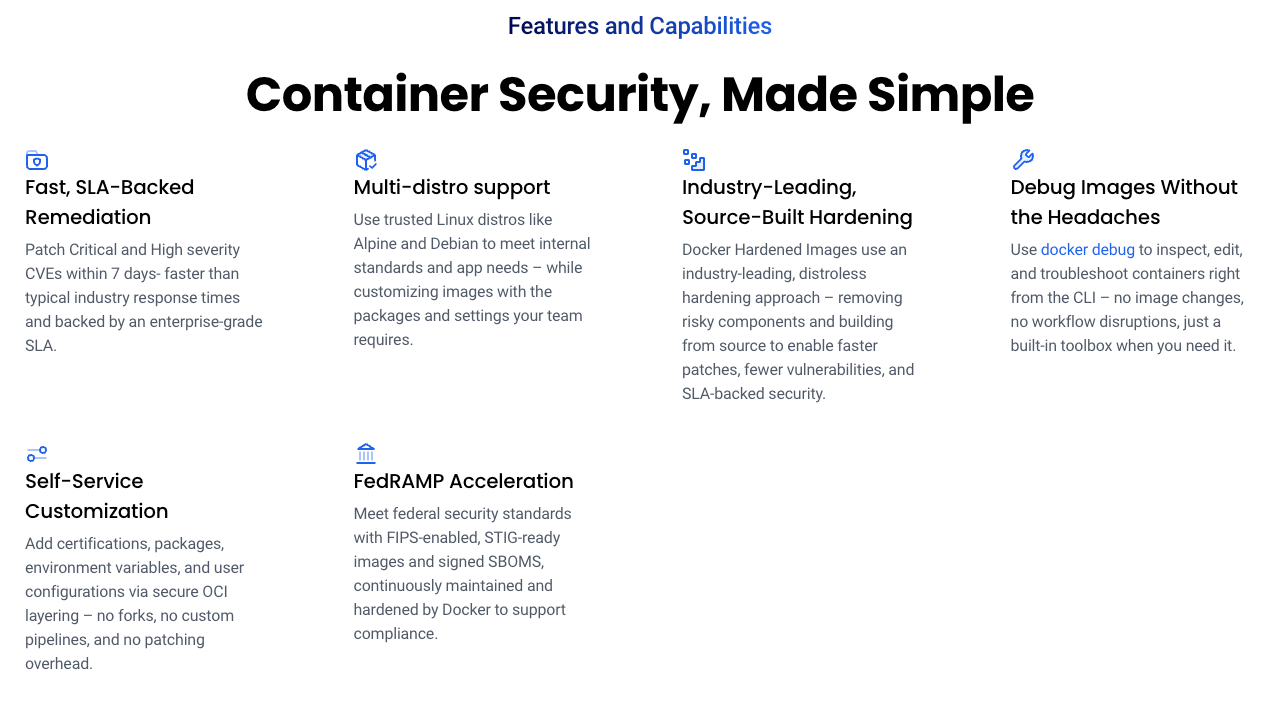
Docker Hardened Images (DHIs) are the new classes of Docker images that are ultra-minimal, production-ready container images built from source for maximum security.
They are maintained and managed by Docker. These images are backed by an enterprise SLA. They offer faster patching, near-zero CVEs, and up to 95% less attack surface.
With built-in SBOMs, SLSA compliance, and digital signatures, every image is fully verifiable and trusted. Updates are continuous and automated—no manual effort needed.
Each DHI is meticulously built to eliminate known vulnerabilities, achieving near-zero Common Vulnerabilities and Exposures (CVEs) through continuous scanning and updates. By adhering to the principle of least privilege, DHI images run as non-root by default, reducing the risk of privilege escalation attacks in production environments.
DHI provides both minimal and development-friendly image variants:
- Minimal images: Built using a distroless approach, these images remove unnecessary components, reducing the attack surface by up to 95% and improving startup times.
- Development images: Equipped with essential development tools and libraries, these images facilitate secure application building and testing.
DHI and Kubernetes

To use a Docker Hardened Image (DHI) in Kubernetes, follow these steps:
Mirror the DHI to Your Organization
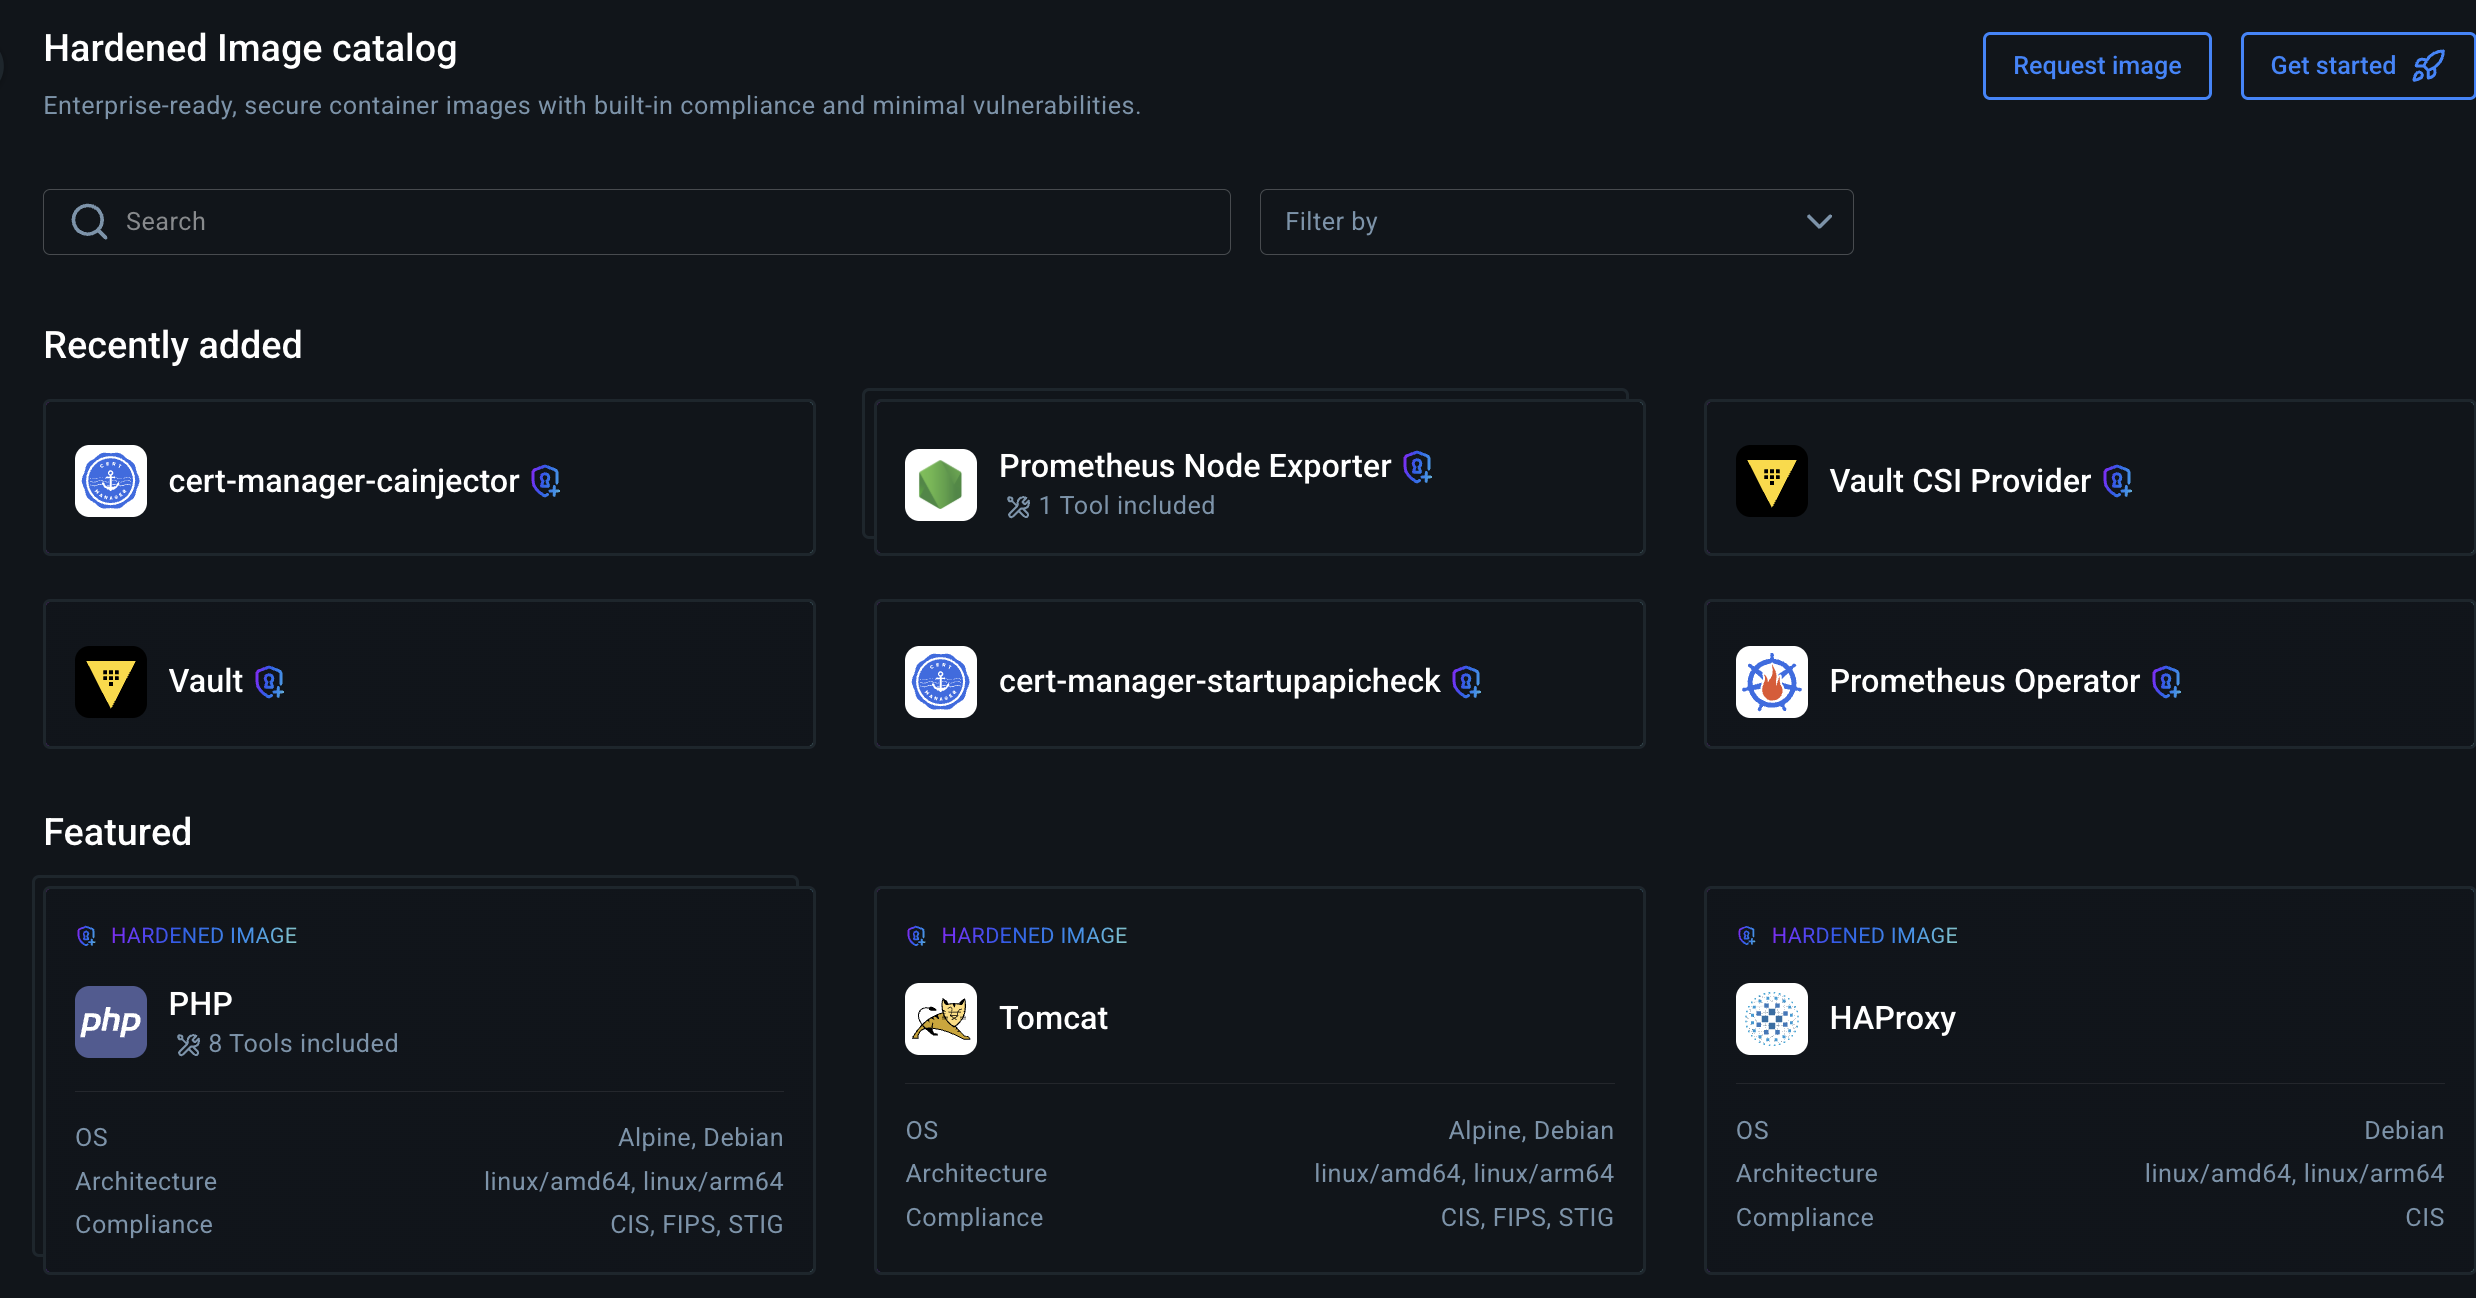
First, ensure the DHI you want to use is mirrored to your organization's namespace on Docker Hub. This is required for access and management. You can do this from the Hardened Images catalog in Docker Hub after subscribing or starting a free trial.
Create a Kubernetes Secret for Image Pulling
Since DHIs are private, you need to create a Kubernetes secret with your Docker Hub credentials (using a Personal Access Token with at least read-only access).
kubectl create -n <kubernetes namespace> secret docker-registry <secret name> \
  --docker-server=docker.io \
  --docker-username=<registry user> \
  --docker-password=<access token> \
  --docker-email=<registry email>
Reference the DHI in Your Kubernetes YAML
In your Pod or Deployment spec, set the image field to your mirrored DHI (e.g., <your-namespace>/dhi-python:3.13) and add the imagePullSecrets section:
apiVersion: v1
kind: Pod
metadata:
  name: dhi-test
  namespace: <kubernetes namespace>
spec:
  containers:
  - name: test
    image: <your-namespace>/dhi-bash:5
    command: [ "sh", "-c", "echo 'Hello from DHI in Kubernetes!'" ]
  imagePullSecrets:
  - name: <secret name>
Deploy and Verify
Apply your YAML with
kubectl apply -f <your-yaml-file>
Check pod status with:
kubectl get -n <kubernetes namespace> pods/dhi-testView logs to confirm the container ran as expected:
kubectl logs -n <kubernetes namespace> pods/dhi-testKey Considerations for DHIs in Kubernetes
- DHIs are minimal and often run as non-root by default. Ensure your app does not require root privileges or privileged ports (use ports above 1024).
- Runtime DHIs may not include a shell or package manager. Use
-devvariants in build stages if you need these tools. - For troubleshooting, use Docker Debug to attach a debug container if needed.
For more details and troubleshooting tips, see the official DHI Kubernetes how-to guide and DHI usage documentation.